
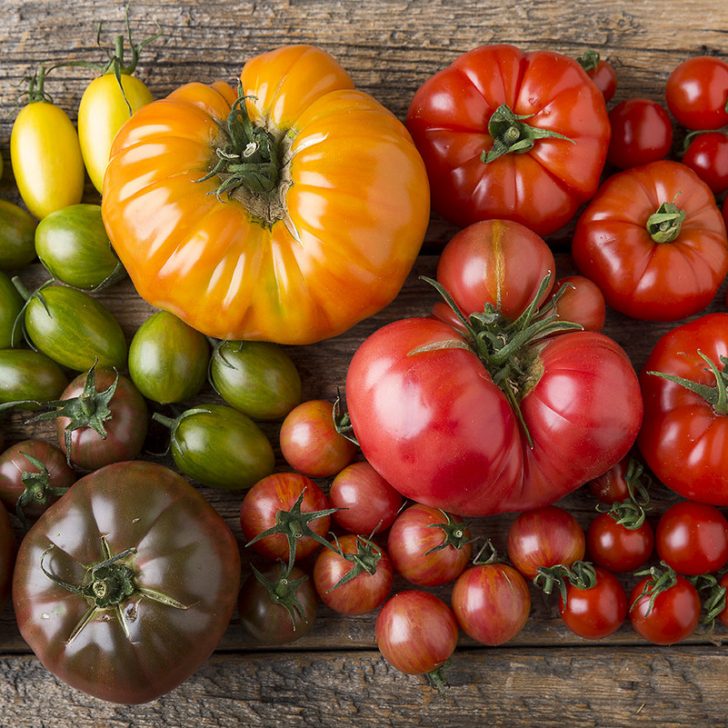
Growing a bounty of tomatoes is possible with these tomato growing tips!
It happens every summer. I wander into the backyard of a friend and discover a pitiful tomato plant, neglected and desperately struggling to produce a few yellow blossoms. Meanwhile, in my small suburban backyard, I have a jungle of tomatoes rapidly taking over my raised bed. Vines soar six feet into the air, filled to the brim with juicy fruit waiting to be transformed into salsas, sauces, or sprinkled with a bit of salt and devoured right in the backyard.
People tell me that I have a green thumb. I disagree. I simply know the secrets to a successful tomato crop. I also know that after the initial set up, it really doesn’t take much work at all to produce the bumper crop of your dreams. Here are 10 of my favorite tomato growing tips.
Warning: there is nothing quite like a home grown tomato. After making sandwiches, sauces, and salsas with the real deal, you will become addicted. Store-bought tomatoes will taste like bland mush.
Tomato Growing Tips for a Successful Tomato Crop
1. Select the Right Seed or Plant
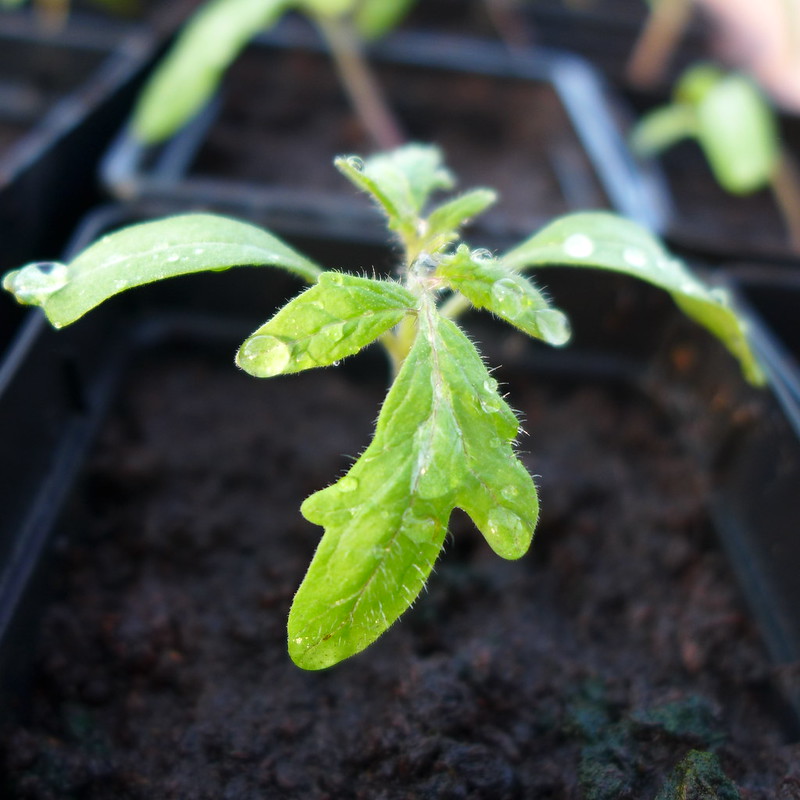
The first key to a successful tomato crop is to pick the right tomato for your backyard. There are dozens of varieties specially bred for a variety of needs. Some are designed for climates with short, cool growing seasons. Many are great for slicing, while others are bred for using in sauces.
Selecting the right tomato plant may seem a bit daunting to first timers, but once you know which questions to ask yourself, you will feel like a kid in a candy store while strolling down your local nursery’s vegetable aisle.
Check out my post on 5 questions to ask yourself before purchasing a tomato plant and discover all you need to know about tomato selection.
2. Plant at the Right Time
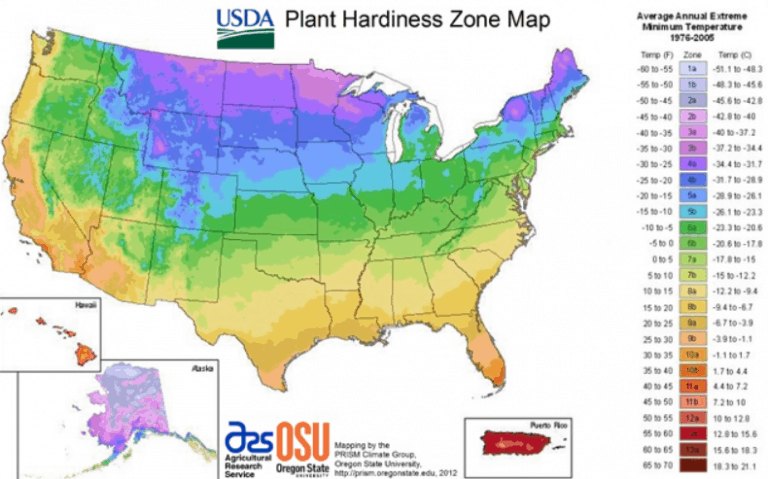
Tomatoes do best when the days are warm and the nights are cool, but not cold. Frost will kill a tomato plant, so it is best to plant as soon as the danger of frost has passed in the spring.
You can find your local frost dates in the Farmer’s Almanac. In Orange County (USDA Plant Hardiness Zone 10a) where there is no real danger of frost, I typically plant in March. When I lived in Sacramento (Zone 9b), I tended to plant towards the middle of April. Visitthe USDA Plant Hardiness website to find out which zone you live in.
If you live in the Western United States, I highly suggest familiarizing yourself with Sunset’s climate zones. They take into account micro-climates and offer great insight into the specifics of what can successfully grow on your little dot on the map. In South Orange County, I currently live in zone 23, which is subtropical and great for growing all sorts of citrus, avocados, and yes, tomatoes.
3. Tomato Growing is All About Location, Location, Location
Tomatoes like sun. This means, it is crucial that you plant tomatoes in a spot that gets at least six hours of sun in order to have a crop. You want at least eight hours of sun to have a bountiful crop.
These hours of sunshine do not need to be consecutive. If you aren’t willing or able to give your tomatoes six hours of sun, don’t even bother planting them. This is not one of those tomato growing tips that you can ignore. You will end up with piddly, disappointing plants.
If you are planting near a wall, house, tree, or other shade-producing structure, pay attention to which hours your plot will be receiving sun. I like planting my tomatoes in a spot that will get a decent amount of afternoon sun because tomatoes love heat.
If you live in a climate that experiences more extreme heat, such as the desert, you may want to focus more on the earlier sun and not plant next to a cement wall, which will further radiate heat.
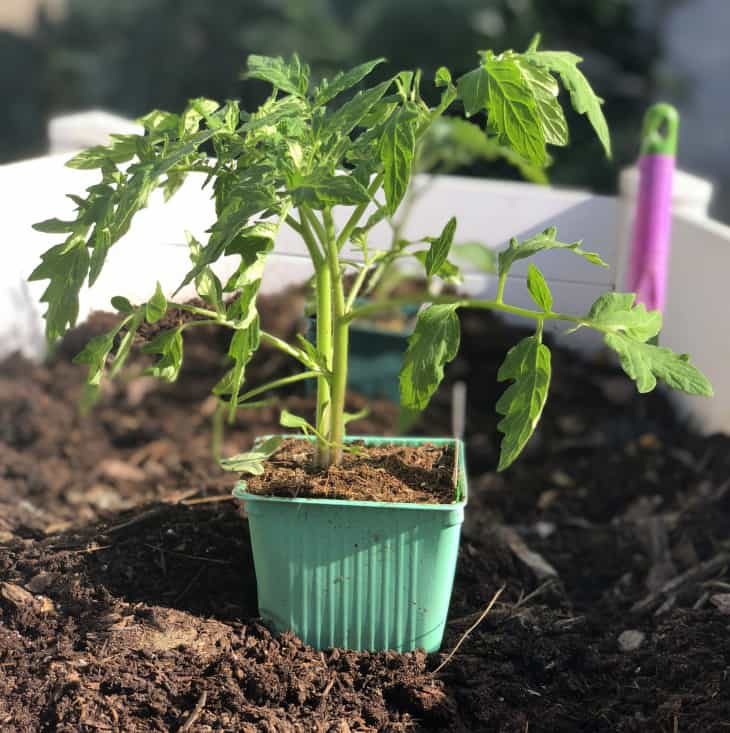
While tomatoes can grow in compact spaces, they do need some room to grow. I suggest planting seedlings at least 18-24 inches apart.
4. Tomato Growing is Also All About the Dirt
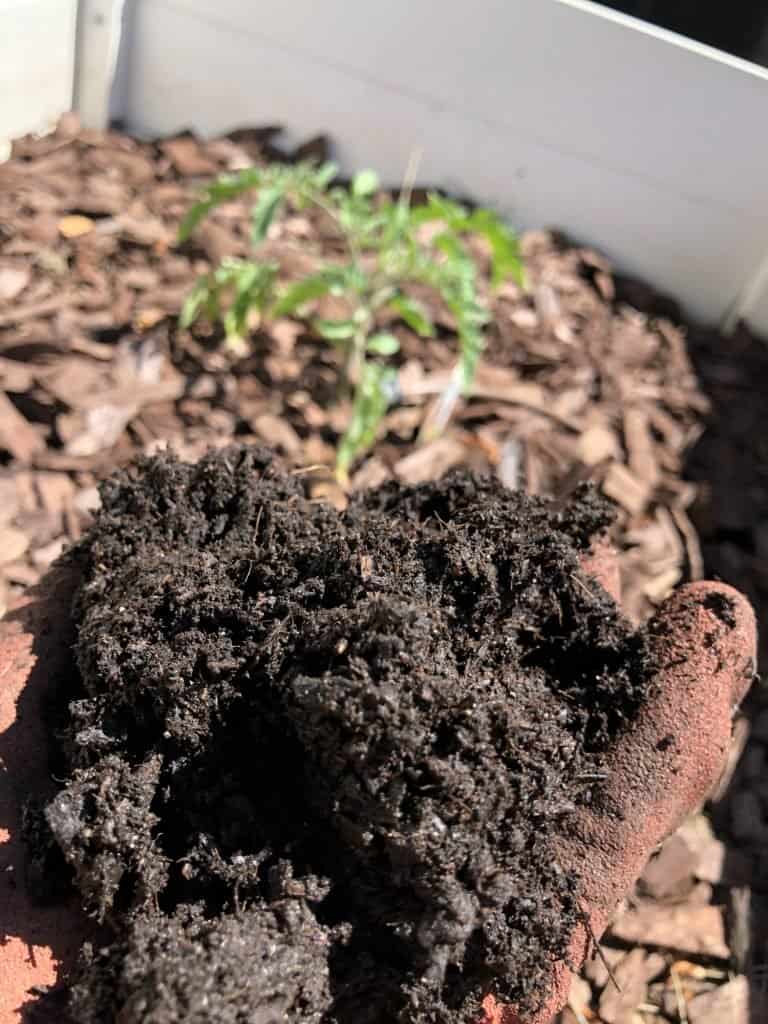
This is one of those tomato growing tips that should not be ignored, especially if you want to produce a big crop. Planting your tomatoes in the wrong soil is like feeding your kids a diet entirely of fast food. They will probably survive, but they will be completely unhealthy and never reach their full potential.
Tomatoes grow fast and pull nutrients from the soil in order to produce fruit. They grow best in soil that that is slightly acidic, with a pH of 6.0-6.8. I don’t typically test the pH of my soil (but it is easy to do with a pH test meter) because I grow my vegetables in raised beds, which are filled with good top soil mixed with 2-3 inches of compost.
Raised beds should be at least 12 inches deep. It is important that you mix in some new compost each year to retain the health of your soil year after year. I highly recommend growing in raised beds, especially if you are trying to be productive in a small amount of space.
If you are planting directly in the ground, test your soil to see what you are working with. You will need to break up your soil (especially if you have clay soil) and likely have to amend it in order to achieve the proper pH (typically by adding sulfur or lime). Soil should be tilled to the depth of 6-8 inches. Compost should also be added to help break up both sandy and clay soils and help absorb moisture.
5. Water is Key

Of all my tomato growing tips, I feel like this is the one that people can’t seem to get right. Tomatoes need water. Giving them a quick soak with the hose for 30 seconds every few days is a recipe for disaster. People have good intentions but then they get distracted by life and four days into a heat wave they discover half dead plants.
I highly recommend installing a drip irrigation system to water your tomatoes. This will allow you to use less water and target each tomato plant individually.
Plus, you can put your drip system on a timer and then set it, and forget it! Drip systems are easy to install, especially if you have an existing sprinkler line or faucet you can tap into. Here is one of many online drip system installation guides.
Another benefit of using a drip system is that it will help you avoid tomato rot which can occur when using overhead watering (ie: sprinklers or hose).
6. Mulch Your Tomato Plants- Yes, It’s Important!
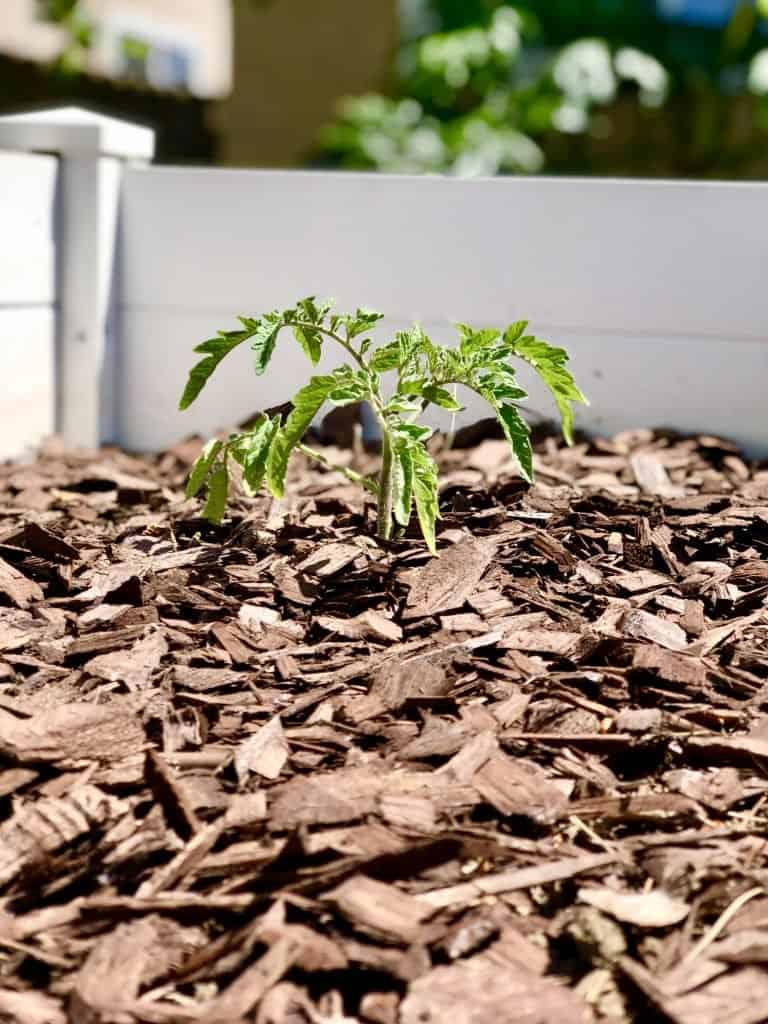
This tomato growing tip is connected to the previous tip about water. During the hot summer months when tomato plants are supposed to be producing at their best, evaporation can become one of a tomato plant’s greatest enemies. Mulch prevents evaporation and soil erosion.
Mulch basically acts as shade and protection for your precious, nutrient-dense soil. It helps ensure that the water you have given your tomato plants stays in the ground so that the plant’s roots can continue to absorb it.
Another reason mulch is beneficial is because as it biodegrades, it helps feed your soil and make new soil. Decaying organic material is essentially what good soil is made of. It also helps improve the overall appearance of your tomato garden. After all, who doesn’t love a neat and tidy looking garden?
Finally, mulch helps reduce weed infestations. Nobody wants weeds in their beautiful vegetable garden and mulch can greatly reduce the amount of time you will spend weeding your beds.
I like to use bark mulch that I purchase from a local nursery or home improvement store. I re-mulch my garden every year after I plant my tomatoes.
7. Feed Your Tomato Plants!
So many people seem to skip this part. One of my most important tomato growing tips is to actually feed your tomatoes! Your tomato plants are growing at a rapid rate and sunlight, soil, and water is simply not enough to sustain a healthy production rate.
What do you feed tomato plants? I like to keep my garden organic so I purchase organic tomato food. A good tomato food has nitrogen, phosphorus, and potassium in it. Nitrogen stimulates chlorophyll production, phosphorus is important to developing strong flowers and fruit, and potassium helps strengthen the roots.
Tomato food comes in a variety of forms such as liquid, granular, and stakes. I have always used granular tomato food because it is easy to deliver the proper amount per plant, releases slowly, and stores well. There are many great brands out there which can be found on Amazon, at home improvement stores, or local nurseries. One brand I can recommend is Jobes Organics.
Directions are on the packaging of the plant food, but I typically feed my tomato plants when I first plant them and then begin fertilizing them every 4-6 weeks after the first fruit begins to appear. Make sure not to over-fertilize your tomatoes! Too much fertilizer or direct contact with fertilizer on the plant roots can burn the plant’s leaves.
8. Stake Those Bad Boys
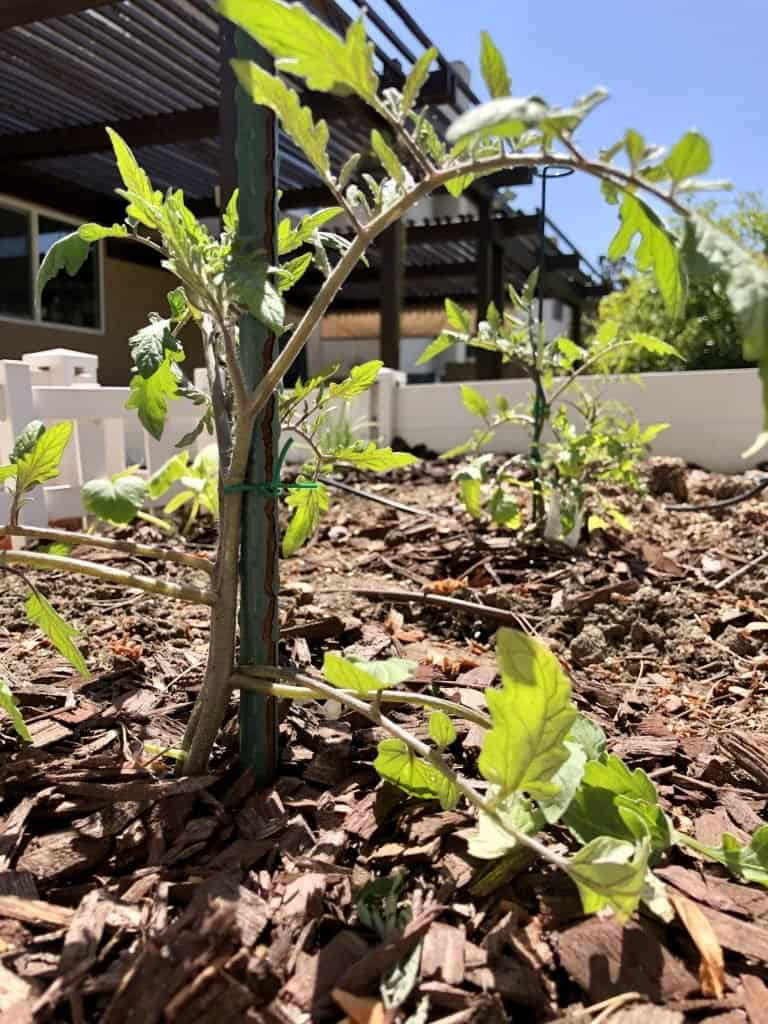
Like a teenager going through their first breakup, tomatoes need support. No, this doesn’t mean that they need a hug or a shoulder to lean on; they need actual physical support!
Without support, indeterminate tomatoes grow on the ground like vines and their leaves and fruit are more susceptible to fruit rot and sunburn. When the vines are staked, the fruit is shaded by the leaves and less like to be exposed to constant moisture. It is also much easier to see and pick ripe fruit.
Many people use circular, wire tomato cages. I am personally not a fan of these. They are typically are much too short to support my tomato plants (which usually extend to six feet in the air during peak season) and quite frankly, can be expensive and difficult to store.
Staking your tomatoes is inexpensive and effective. I either use bamboo stakes or plastic-coated metal stakes that can be used year after year, but wooden stakes are a great option as well. The system I typically use involves using stakes in combination with garden twine. Here is a great video tutorial which covers the details.
Important note: Determinate tomatoes are bushier plants which tend to be smaller since they have a limited harvest. They work well in cages.
9. Prune Now For Higher Yields Later
I often wonder if casual, backyard gardeners know that they are supposed to prune their tomato plants. My guess is that most don’t. I certainly had no idea in my tomato farming days 20 years ago.
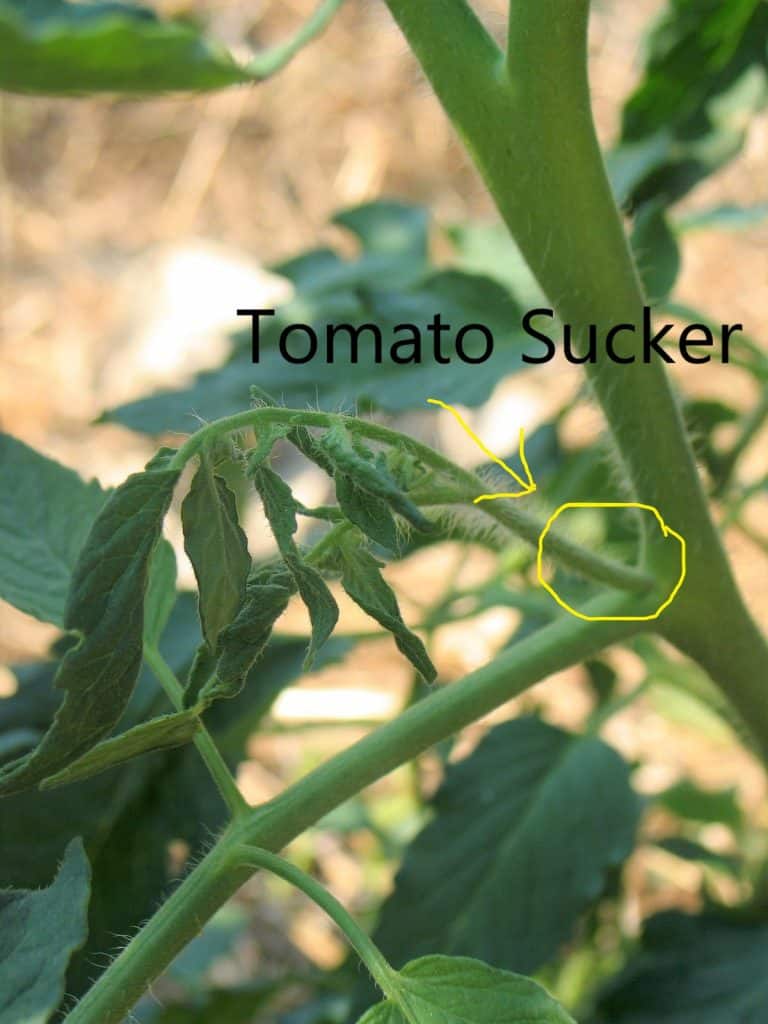
Believe it or not, pruning your tomato plants will result in more fruit, especially if you are trying to grow multiple tomato plants in a compact area. It is important to prune any leaves which might be touching the ground (to prevent rot and disease) as well as remove some suckers to keep things neat and tidy.
What is a tomato sucker? It is basically another little tomato plant that grows out of the joint of a tomato plant where a branch meets the stem. These shoots will turn into full size tomato plants if left alone. The more suckers you have, the less resources the main tomato plant has (plus, things can get unruly).
I typically remove suckers until the plant gets to be sturdy and at least a couple feet off the ground. I may let a couple suckers stick around if I have the space and feel like they are interfering too much with the overall shape of the plant.
There are so many schools of thought on tomato pruning and endless Youtube videos on the subject. Here is the school of thought I tend to follow.
10. Keep Those Tomato Pests and Diseases Away

You have beautiful tomato plants filled with ripening fruit and suddenly a pest invasion occurs. Gah! Don’t fret, there are many solutions to common pests and diseases. Here are a few of the problems I most commonly encounter and what to do about them.
1. Tomato Hookworms
Tomato hornworms are gross and destructive. Many people new to tomato growing might mistake them for caterpillars. They are bright green, leave dark droppings everywhere, and can rapidly eat your tomato plants!
While you can use insecticides to get rid of them, I keep my garden organic and have found hand removal to be easy and effective. I check my tomatoes regularly during the growing season and simply pluck and chuck (while screaming obscenities) those little jerks away. Planting marigolds in the same bed as your tomato plants can be good deterrent as well. Their scent keeps several pests away.
2. Aphids
Ew. I hate aphids. They can be so damaging to a garden and leave this sticky, gross substance behind. Check the underside of your plants leaves and if you little dot-like creatures on the on them, you likely have aphids.
I pull leaves that are heavily infected and then apply a diluted soap spray to the plant, which kills the aphids. The ratio of soap to water in your spray should be approximately 2 tblsp dish soap per gallon of water. If you are just using a standard squirt bottle, put a couple drops in the bottom and then fill up with warm water and start spraying those leaves!
3. Birds and Rodents
I have the same bird show up every single year to feast on my tomatoes. He is a tropical-looking bird with vibrant yellow and black feathers and a hunger for partially ripened tomatoes. I call him “Bitch Bird”. He is not to be outdone by his pals, “Asshole Opossum” or “Jerkface Rat”.
How do I keep the local wildlife from feasting on my tomato harvest? I use a mesh net to cover my plants when the tomato feast party seems to be getting out of control. They still get a nibble on some of the tomatoes on the outer edge of the garden, but the net drastically reduces their tomato consumption rate.
I keep the net secure at the bottom by using a combination of stakes and bricks. Yes, it is a major pain. Yes, my garden is less aesthetically pleasing when I have to put the net up. But I want to actually enjoy my tomatoes, so these are the sacrifices I have to make.
4. Powdery Mildew
Powdery mildew basically looks like white must on your tomato plants. I most often find it on my squash plants, but have definitely encountered it on tomatoes as well. It is often caused by humidity. I typically use the same soap and water solution as I do on aphids and it gets rid of it. I also pull the most infected leaves.
5. Blossom End Rot
If you are noticing a dark, brownish spot on the bottom end of your fruit, you have blossom end rot. This is cause by two things- uneven watering and calcium deficiency. Both of these problems can be solved by following my previous tomato growing tips on watering, feeding, and mulching.
6. Fruit Cracking
This is another condition caused by uneven watering. Keep your tomato watering on a schedule and cracking will be at a minimum. Overhead watering is another source of fruit cracking, so try to avoid that. Hot, rainy weather is can cause fruit cracking, but there isn’t much you can do about that.
Here is a link to a good resource that covers several more tomato problems and how to fix them.
Featured image via Flickr/Lufa Farms